Hello fellow yarn lovers! Are you ready to add a touch of delicate beauty and joyful texture to your crochet repertoire? Today, we’re diving into the absolutely enchanting world of the Puff Flower crochet pattern – a design I guarantee you’ll be eager to learn. Imagine vibrant little blossoms, each with its own plump, inviting puff, blooming under your hook. They’re simply adorable, aren’t they?
This versatile pattern is a dream come true for beginners looking to tackle a new stitch, and a delightful quick project for experienced crafters seeking a sweet, satisfying make. These little puff flowers are perfect for transforming into charming embellishments for blankets, hats, bags, or even creating a whole bouquet of handmade decor. Get ready to discover the simple magic of creating these dimensional wonders – you’ll be hooked (pun intended!) in no time!
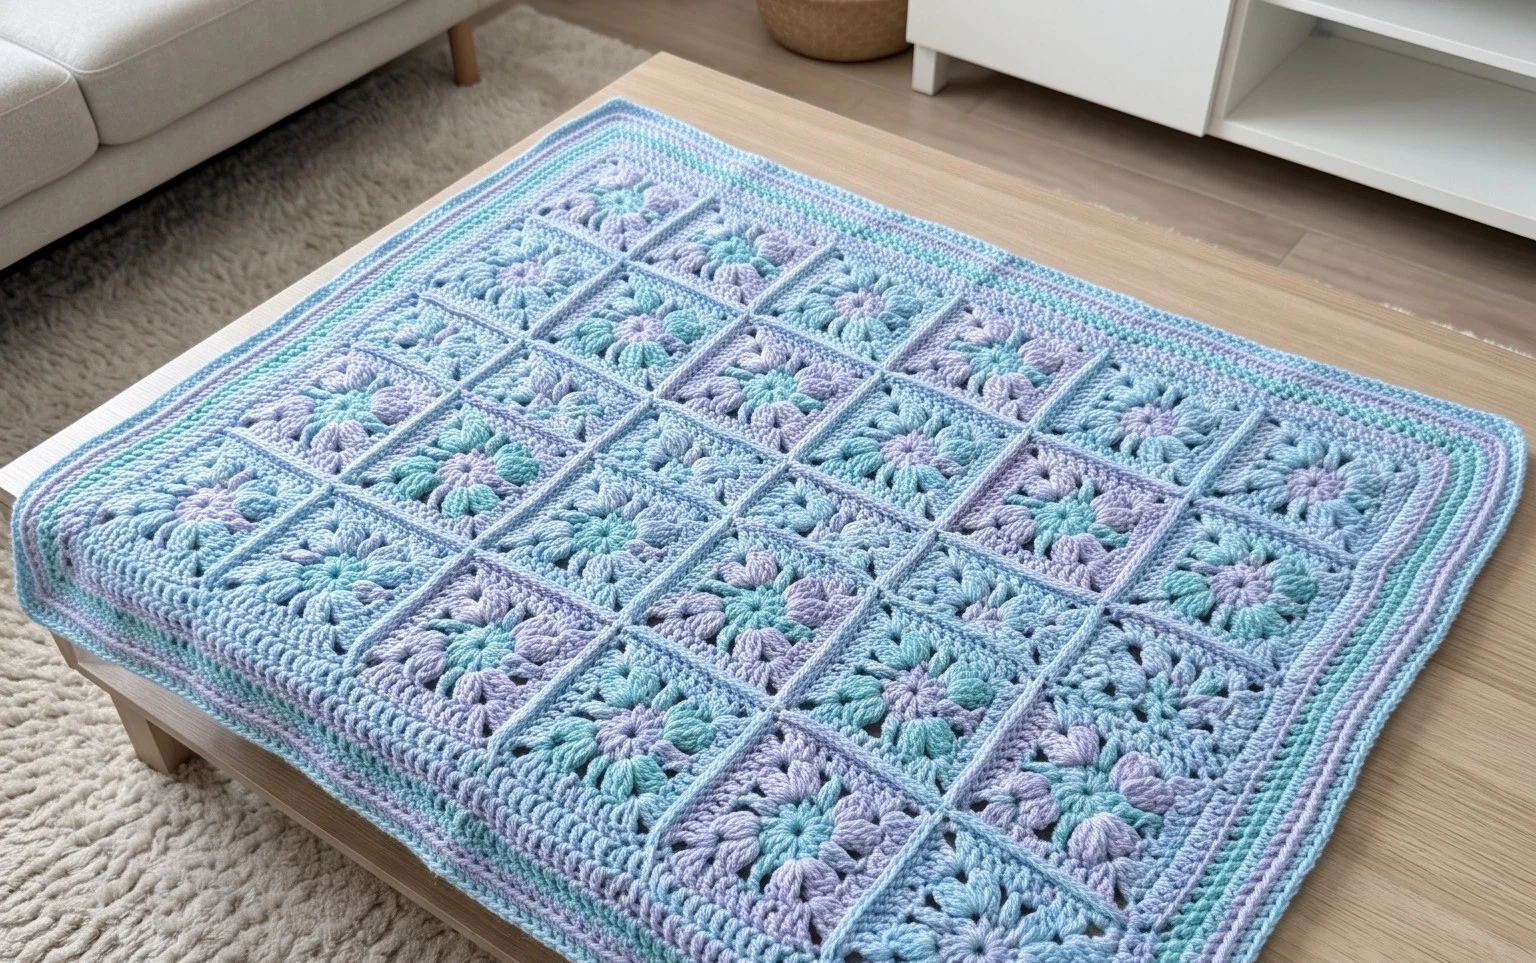
The Puff Flower Crochet Pattern You Need To Learn
There’s a certain magic to creating something beautiful and tactile with just a hook and some yarn. And when that something resembles a delicate, blooming flower, well, that magic multiplies! Today, we’re diving into a crochet pattern that’s not only utterly charming but surprisingly versatile and beginner-friendly: the Puff Flower. Whether you’re a seasoned crocheter looking for a new motif or a complete novice eager to jump into a rewarding project, this pattern is for you. It’s a little burst of sunshine and texture that can transform everyday items into something truly special.
Why the Puff Flower is a Must-Know Pattern
The puff flower crochet pattern is a standout for several reasons. Firstly, its textured “puff” stitch creates a lovely dimensional effect, giving the flower a realistic, almost three-dimensional appearance. Secondly, it’s incredibly adaptable. You can play with colors, sizes, and even stitch variations to create a whole garden of unique blooms. Best of all, once you master the basic puff stitch and a few foundational stitches, you’ll be able to whip these up with ease. They are perfect for adding a charming embellishment to a wide range of projects or as standalone decorations.
Yarn and Hook Recommendations
The beauty of the puff flower pattern is that it works well with a variety of yarn weights and fiber types. However, for a beginner, it’s often best to start with something that’s easy to handle and shows off the stitch definition clearly.
Yarn Choice:
Worsted weight cotton or acrylic: This is our top recommendation for beginners. Cotton yarns offer great stitch definition and a lovely matte finish that really highlights the puff stitch. Acrylic yarns are also fantastic, offering durability, washability, and a wide range of vibrant colors.
DK weight yarn: This slightly lighter yarn can create a daintier puff flower, perfect for delicate projects like baby blankets or jewelry.
Fingering weight yarn: For very intricate work or miniature puff flowers, a fine weight yarn is ideal, but it can be a bit trickier for those just starting out.
Hook Size:
The general rule of thumb is to choose a hook size that complements your yarn weight. For worsted weight yarn, a 4.5mm (US 7) to 5.5mm (US I/9) hook is usually a good starting point.
If you prefer a tighter fabric and more defined puffs, go down a hook size. If you want a looser, more airy flower, go up a hook size.
Always check the yarn label for the manufacturer’s recommended hook size – it’s a great guide!
Stitch Techniques You’ll Be Using
The puff flower is built upon a few key crochet stitches. Mastering these will unlock not just this pattern, but many others!
Magic Ring (or Magic Circle): This is the foundation for many amigurumi and motifs. It creates a tight center with no hole, giving your flower a neat beginning. Don’t be intimidated by it; once you practice, it becomes second nature!
Single Crochet (sc): A basic and fundamental stitch that forms the solid base of the flower.
Half Double Crochet (hdc): Creates a slightly taller stitch than single crochet, adding a bit more texture and height.
Double Crochet (dc): A taller stitch that’s often used to build up the puff stitch itself.
Puff Stitch (or Bobble Stitch): This is the star of the show! A puff stitch is created by working multiple stitches (usually double crochets) into the same stitch or space, but only completing the last yarn over and pull-through for all of them together. This creates a raised, plump “puff.” The most common way to make a puff stitch is:
1. Yarn over, insert hook into stitch/space.
2. Yarn over, pull up a loop (3 loops on hook).
3. Yarn over, insert hook into same stitch/space.
4. Yarn over, pull up a loop (5 loops on hook).
5. Yarn over, insert hook into same stitch/space.
6. Yarn over, pull up a loop (7 loops on hook).
7. Yarn over, pull through all 7 loops on hook.
8. Chain 1 to secure the puff.
Slip Stitch (sl st): Used for joining rounds and creating a neat finish.
Tips for Beginners
Embarking on a new crochet pattern can feel a little daunting, but the puff flower is a wonderful place to build your confidence.
Practice the Puff Stitch First: Before diving into the full flower, try making just a few puff stitches in a row on a scrap piece of yarn. Get a feel for the yarn overs and pulling through all the loops. This will help you understand the rhythm.
Count Your Stitches: It might sound basic, but consistently counting your stitches in each round is crucial for a symmetrical flower. You’ll thank yourself later!
Use a Stitch Marker: Place a stitch marker in the first stitch of each round to easily identify the start and end. This is especially helpful when working in the round.
Don’t Be Afraid to Undo (Frogging): We’ve all been there! If you make a mistake, it’s okay to unravel your work and try again. It’s all part of the learning process.
Watch Video Tutorials: Sometimes, seeing a stitch or technique in action is the best way to learn. Search for “crochet puff flower tutorial” on platforms like YouTube. You’ll find a wealth of visual guidance.
Keep Your Tension Consistent: Try to hold your yarn and hook with a relaxed but consistent tension. This will result in stitches of uniform size and a smooth, even fabric.
How to Customize Your Puff Flowers
The true joy of the puff flower lies in its potential for personalization. You can create a whole spectrum of unique blooms to suit any project.
Color Combinations:
Solid Blooms: Use a single color for a classic and elegant look.
Two-Tone Flowers: Alternate colors for the center and petals, or use a contrasting color for the edging. For instance, a yellow center with pink petals is a beautiful combination.
Rainbow Gardens: Use a different color for each petal to create a vibrant rainbow effect.
Ombre or Gradient Yarns: These self-striping yarns can create stunning, seamless color transitions within your puff flowers.
Size Variations:
Larger Flowers: To create bigger puff flowers, simply add more rounds of stitches, or use a thicker yarn and a larger hook. You can also increase the number of stitches worked into each puff.
Smaller Flowers: Use a finer yarn and a smaller hook. Reduce the number of stitches worked into each puff. This is perfect for tiny embellishments or even jewelry.
Petal Shape and Number:
More Puffs: The standard pattern usually has a set number of puff stitches for the petals. You can easily add more puff stitches in a round to create a fuller flower.
Different Puff Stitch Variations: Experiment with different types of puff stitches (e.g., a 3-dc puff, a 5-dc puff) to alter the fullness and texture of the petals.
Adding a Ruffle Edge: After finishing the petals, you can work a round of single crochets or half double crochets in the back loops only, with some increases, to create a ruffled edge.
Care Instructions for Your Finished Piece
Once you’ve created your beautiful puff flowers, proper care will ensure they last and maintain their charm.
Washing:
Hand Wash: For most acrylic and cotton yarns, hand washing in cool or lukewarm water with a mild detergent is the gentlest method.
Machine Wash (Delicate Cycle): If your yarn is machine washable and you’re confident in the durability of your stitches, you can place your finished pieces in a mesh laundry bag and wash on a delicate cycle with cold water.
Drying:
Lay Flat to Dry: This is the preferred method for most crochet items. Gently reshape your puff flower and lay it flat on a clean towel or a drying rack, away from direct sunlight or heat. This prevents stretching and maintains its shape.
Avoid High Heat: Never put your crochet items in a high-heat dryer, as this can cause shrinkage and damage the fibers.
Blocking: While not always necessary for small motifs, blocking can help to even out stitches and ensure your puff flowers have a perfect shape. You can do this by lightly misting them with water and pinning them into their desired shape on a blocking mat or a piece of foam board until dry.
Project Ideas to Inspire Your Crafty Heart
Now that you know how to make these delightful puff flowers, what can you do with them? The possibilities are endless!
Appliqués for Clothing and Accessories: Sew or crochet them onto hats, scarves, bags, sweaters, or even denim jackets for a touch of handmade charm.
Home Decor:
Cushion Covers: Create a cluster of puff flowers to adorn a plain cushion.
Garlands and Bunting: String them together to create whimsical decorations for parties or a child’s room.
Coasters and Pot Holders: Work a few rounds to make them sturdy enough for functional home items.
Jewelry: Use finer yarns and smaller hooks to create charming earrings, pendants, or brooches.
Gift Embellishments: Add a puff flower to a handmade gift wrap, a card, or tie it onto a present for an extra special touch.
Amigurumi Touches: Incorporate them as decorative elements on stuffed animals or dolls.
Baby Items: Adorn baby blankets, booties, or hats with these sweet little blooms.
The puff flower crochet pattern is more than just a stitch; it’s an invitation to infuse your projects with joy and personality. So, grab your hook, choose your favorite yarn, and get ready to bloom! Happy crocheting!
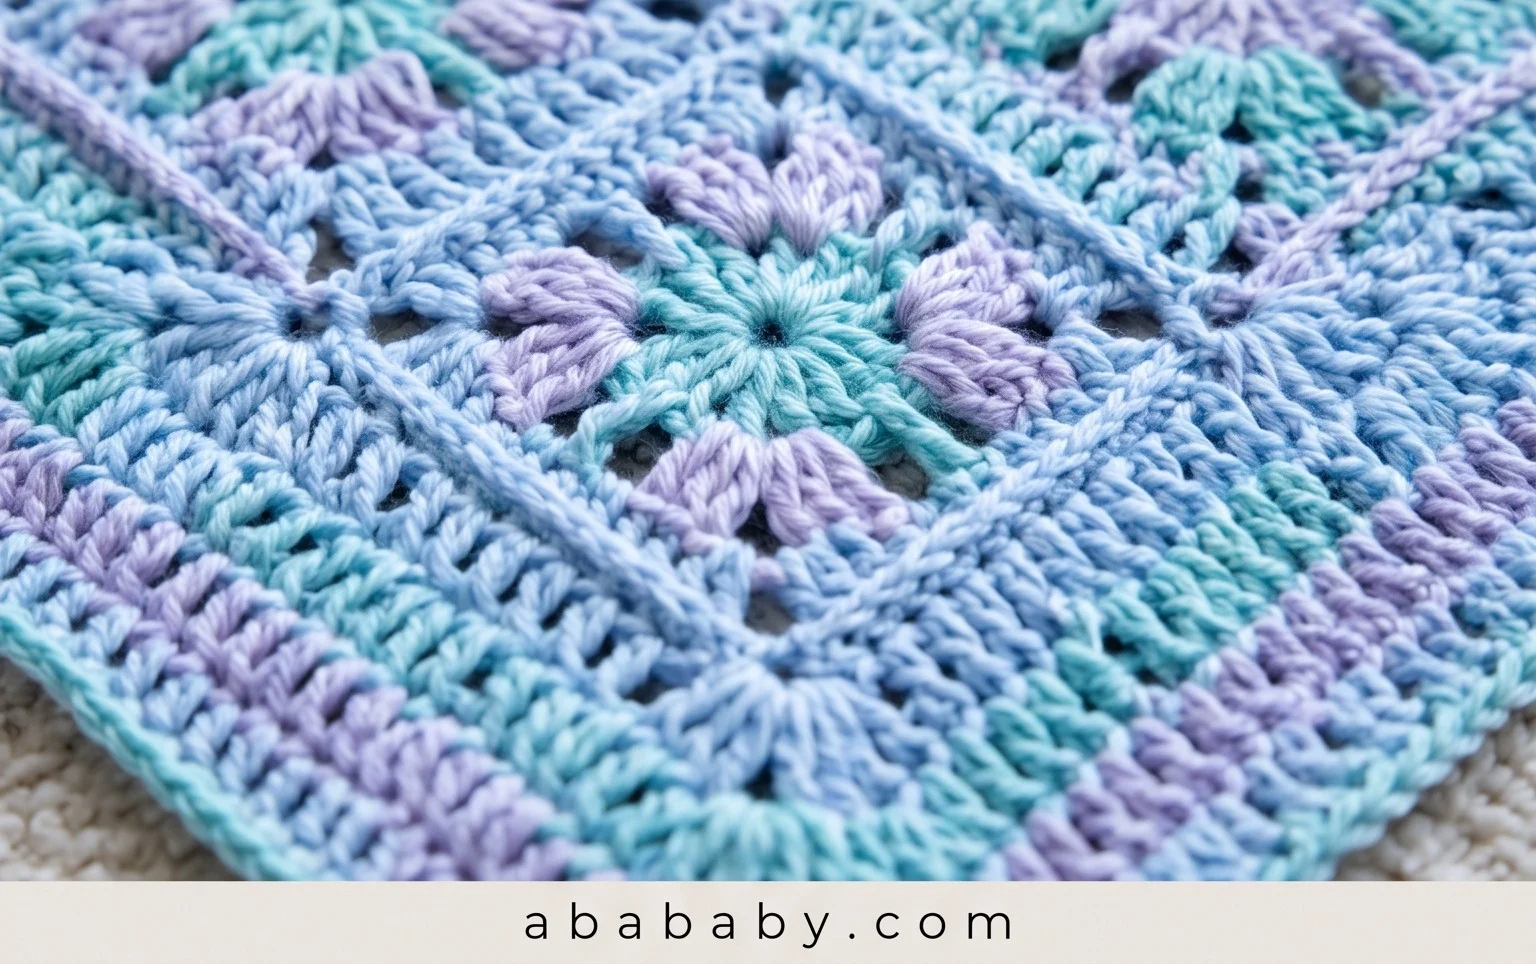
I hope this puff flower crochet pattern has sparked your creativity! It’s such a satisfying stitch to master, and the results are simply adorable. Don’t hesitate to give it a try – you might be surprised at how quickly you fall in love with this versatile little bloom. Once you’ve crocheted your own puff flower masterpiece, I’d be absolutely delighted if you shared your beautiful creations on social media using #PuffFlowerLove. Imagine all the vibrant colors and unique projects we can inspire each other with!
Feel free to experiment with different yarn weights and colors, or even try incorporating these puff flowers into larger blankets, garments, or accessories. The possibilities are truly endless! And as always, I invite you to explore more delightful crochet patterns right here to continue your crafting journey. Happy crocheting!